
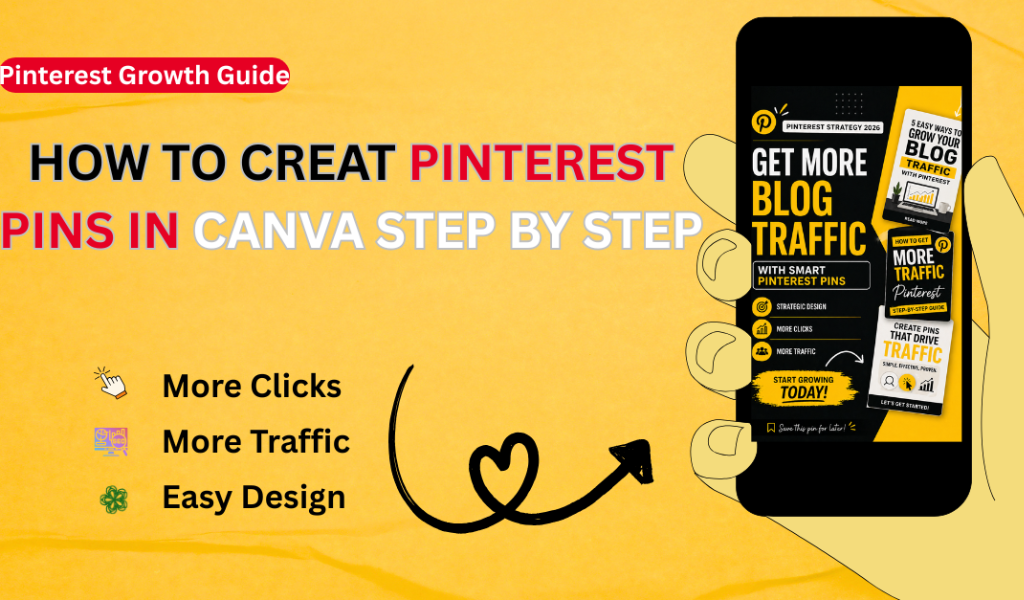
How to create Pinterest pins in Canva is one of the most effective ways to drive traffic to your blog or website, especially if your current pins are getting impressions but no clicks.
Many beginners create visually appealing Pinterest pins, but they often fail to grab attention or encourage users to click. The problem is not just the design, it’s the strategy behind it.
In this step-by-step guide, you will learn how to create high-converting Pinterest pins using Canva, even if you have no design experience.
We will cover simple techniques, proven design tips, and beginner-friendly methods to help you create scroll-stopping pins that attract clicks and bring real traffic.
Canva is a powerful and free design tool that allows anyone to create professional-quality Pinterest pins with ease.
By using the right layout, text, and visual strategy, you can turn simple designs into traffic-generating assets.
Let’s dive in and learn how to design Pinterest pins that actually get results.
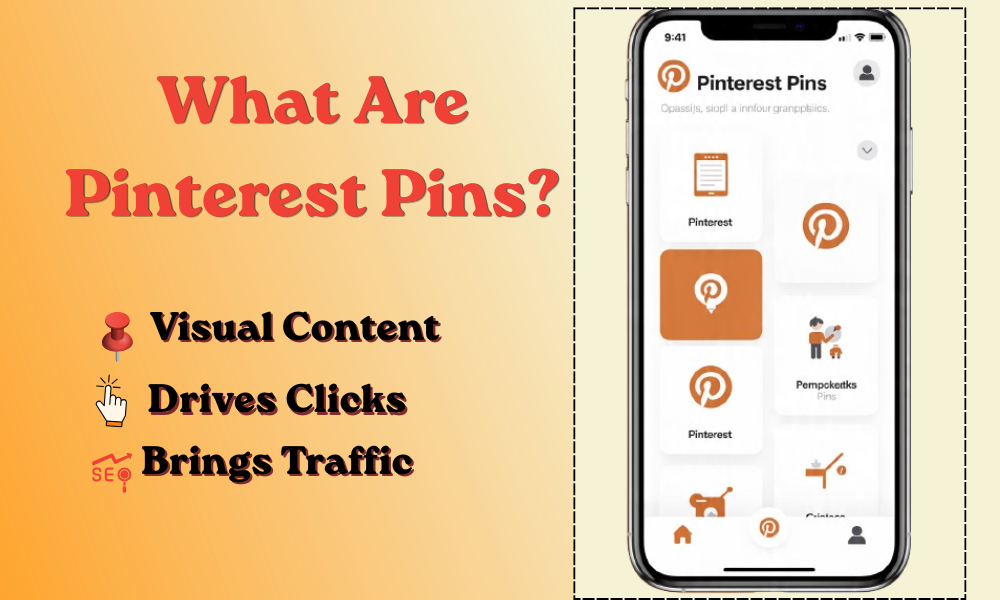
What Are Pinterest Pins?
How to create Pinterest pins in Canva starts with understanding what Pinterest pins actually are and how they work.
Pinterest pins are visual posts that appear on the Pinterest platform.
These pins are usually created in the form of images or graphics and are used to share ideas, blog posts, products, or services.
When a user searches for something on Pinterest, a variety of pins appear in the feed.
If your pin is well-designed and communicates a clear message, the user is more likely to click on it and visit your website or blog.
This is why Pinterest pins are not just about looking attractive, their real purpose is to capture attention and encourage users to take action, especially clicks.
When created correctly, Pinterest pins can drive traffic for months or even years.
This makes Pinterest one of the most powerful traffic sources for bloggers, digital creators, and freelancers.
Whether you are working on a blog, promoting your business, or offering services on Fiverr, Pinterest allows you to reach a wider audience.
Tools like Canva make it easier to create professional and high-converting pins that support your long-term growth.
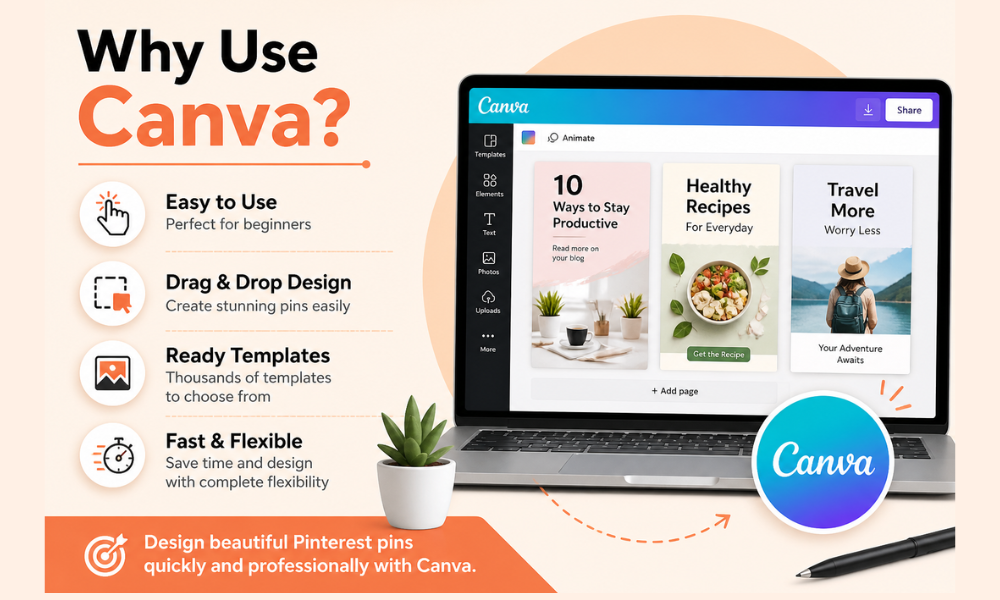
Why Use Canva to Create Pinterest Pins?
How to create Pinterest pins in Canva becomes much easier when you use the right design tool, and Canva is one of the best options for beginners.
Canva is a free and easy-to-use graphic design tool that allows anyone to create professional Pinterest pins without needing advanced skills.
It offers ready-made templates, drag-and-drop features, and a wide range of fonts, colors, and elements that make the design process simple and fast.
A major advantage of Canva is its ability to adapt to different design needs with complete flexibility.
You can easily customize your Pinterest pins according to your niche, whether you are working on blog traffic, affiliate marketing, or Fiverr services.
Canva also helps you maintain consistency in your designs. You can reuse templates, keep the same color style, and build a strong visual identity, which is very important for growing on Pinterest.
If you are serious about learning how to create Pinterest pins in Canva, starting with this tool will save you time and help you design high-quality pins that actually get clicks and drive traffic.
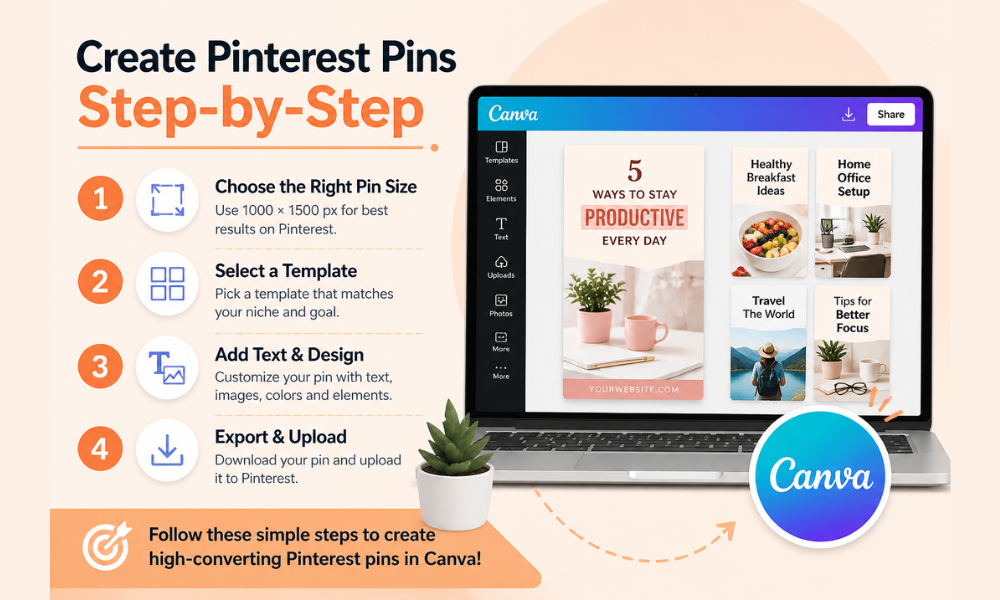
How to Create Pinterest Pins in Canva
How to create Pinterest pins in Canva is one of the most important skills if you want to drive traffic from Pinterest to your blog or website.
Canva makes the process simple, even for beginners, but the real difference comes from using the right strategy, design structure, and SEO-focused approach.
A well-designed Pinterest pin is not just about looking good, it must grab attention, communicate value quickly, and encourage users to click.
By following the correct steps, you can create scroll-stopping pins that generate consistent traffic and help grow your blog, Fiverr services, or online business.
1. Choose the Right Pin Size
How to create Pinterest pins in Canva starts with selecting the correct dimensions.
Pinterest works best with vertical images, and the ideal size is 1000 × 1500 pixels.
This size ensures your pin looks professional and gets maximum visibility in the feed without being cropped.
2. Pick a Clean Template
When learning how to create Pinterest pins in Canva, always choose a simple and clean template.
Avoid cluttered designs and focus on layouts that are easy to understand.
A clean design helps users quickly read your message and increases engagement.
3. Add a Strong Title
Your title is the most powerful element in your pin.
To improve how to create Pinterest pins in Canva, use clear, bold, and benefit-driven headlines.
Your title should solve a problem or create curiosity so users feel motivated to click.
4. Use High-Quality Visuals
Visual quality plays a big role in how to create Pinterest pins in Canva.
Always use high-resolution images, relevant graphics, and simple icons.
Clean visuals make your design more professional and increase trust.
5. Keep Text Readable
Another key part of how to create Pinterest pins in Canva is readability.
Use bold fonts for headings, simple fonts for details, and maintain strong contrast between text and background so your pin is easy to read on mobile.
6. Add Call to Action
Every pin should guide the user.
While practicing how to create Pinterest pins in Canva, always include a clear call-to-action like “Read More” or “Visit Blog.”
This increases clicks and helps drive traffic.
7. Download and Upload with SEO
The final step in how to create Pinterest pins in Canva is exporting your design in high quality and uploading it with proper SEO.
Add a keyword-rich title, description, and relevant hashtags to improve visibility and reach.
Start Creating Pinterest Pins Today
How to create Pinterest pins in Canva is not just a design skill, it is a complete traffic strategy.
When you use the right pin size, clean layouts, strong titles, and proper Pinterest SEO, your pins can drive consistent traffic to your blog, website, or Fiverr services.
Canva makes this process simple and accessible for beginners, allowing you to create professional and high-converting Pinterest pins without any design experience.
If you stay consistent and focus on improving your designs, Pinterest can become a long-term traffic source that works for you every day.
The more pins you create, the more opportunities you build for clicks, growth, and online income.
Internal Resource
If you want to improve your design skills further, you can read this guide:
![]() How to Design a Fiverr Gig Thumbnail in Canva
How to Design a Fiverr Gig Thumbnail in Canva
This will help you understand better layouts, fonts, and visual structure, which also improve your Pinterest pin designs.
External Resource
If you want professional Pinterest pin designs or don’t have time to create them yourself:
![]() Get High-Quality Pinterest Pin Designs on Fiverr
Get High-Quality Pinterest Pin Designs on Fiverr
I create scroll-stopping Pinterest pins designed to attract attention, increase clicks, and drive real traffic to your content.
Final Tip
Focus on value, not just design.
Good-looking pins may get attention — but smart, strategic pins bring real traffic and results.
Hi Robin really I surprised with your profile picture and how you are doing iaaprisheate the works of you and I will be come the part of work at soon
Hi Mohammed, thank you for your kind words, I really appreciate your support.
If you are interested in working together, feel free to message me with your project details, I would be happy to help you.